Learn how to draw Hibiscus with curated video tutorials, step-by-step drawings, and photo references. Use this page to practice the main shapes, petal layering, and shading techniques—from simple sketches to more polished illustrations.
This hub currently includes 12 video tutorials, 24 drawings, and 23 photo references to help you study structure, lighting, and color.

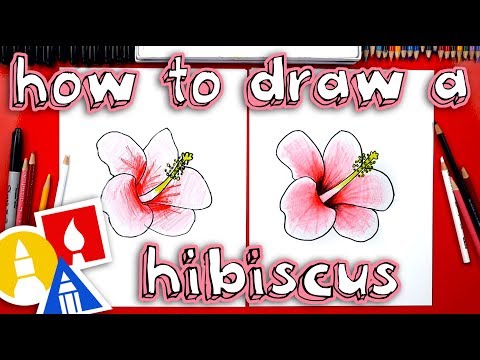
Watch step-by-step Hibiscus drawing tutorials that cover sketching, petal structure, and shading techniques for beginners and advanced artists.
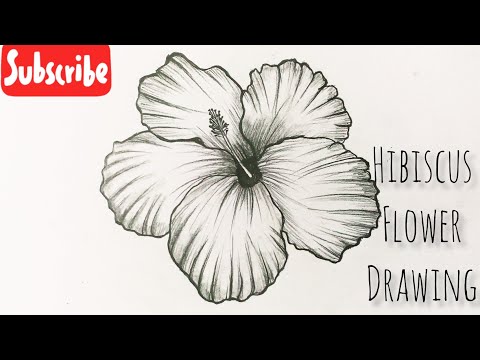
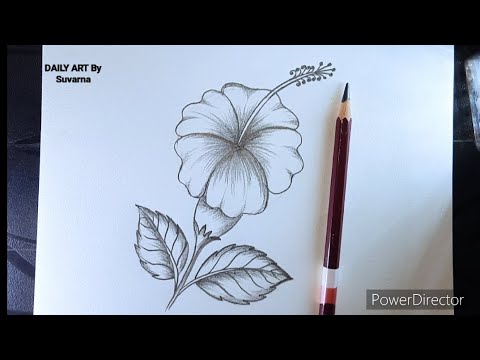

Explore Hibiscus drawing examples and step-by-step breakdowns to practice outlines, petal layering, and coloring techniques.", "references_title": "Hibiscus Photo References
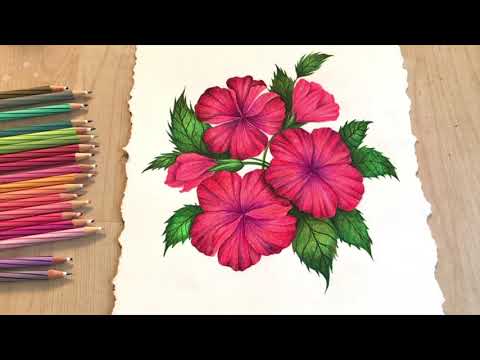
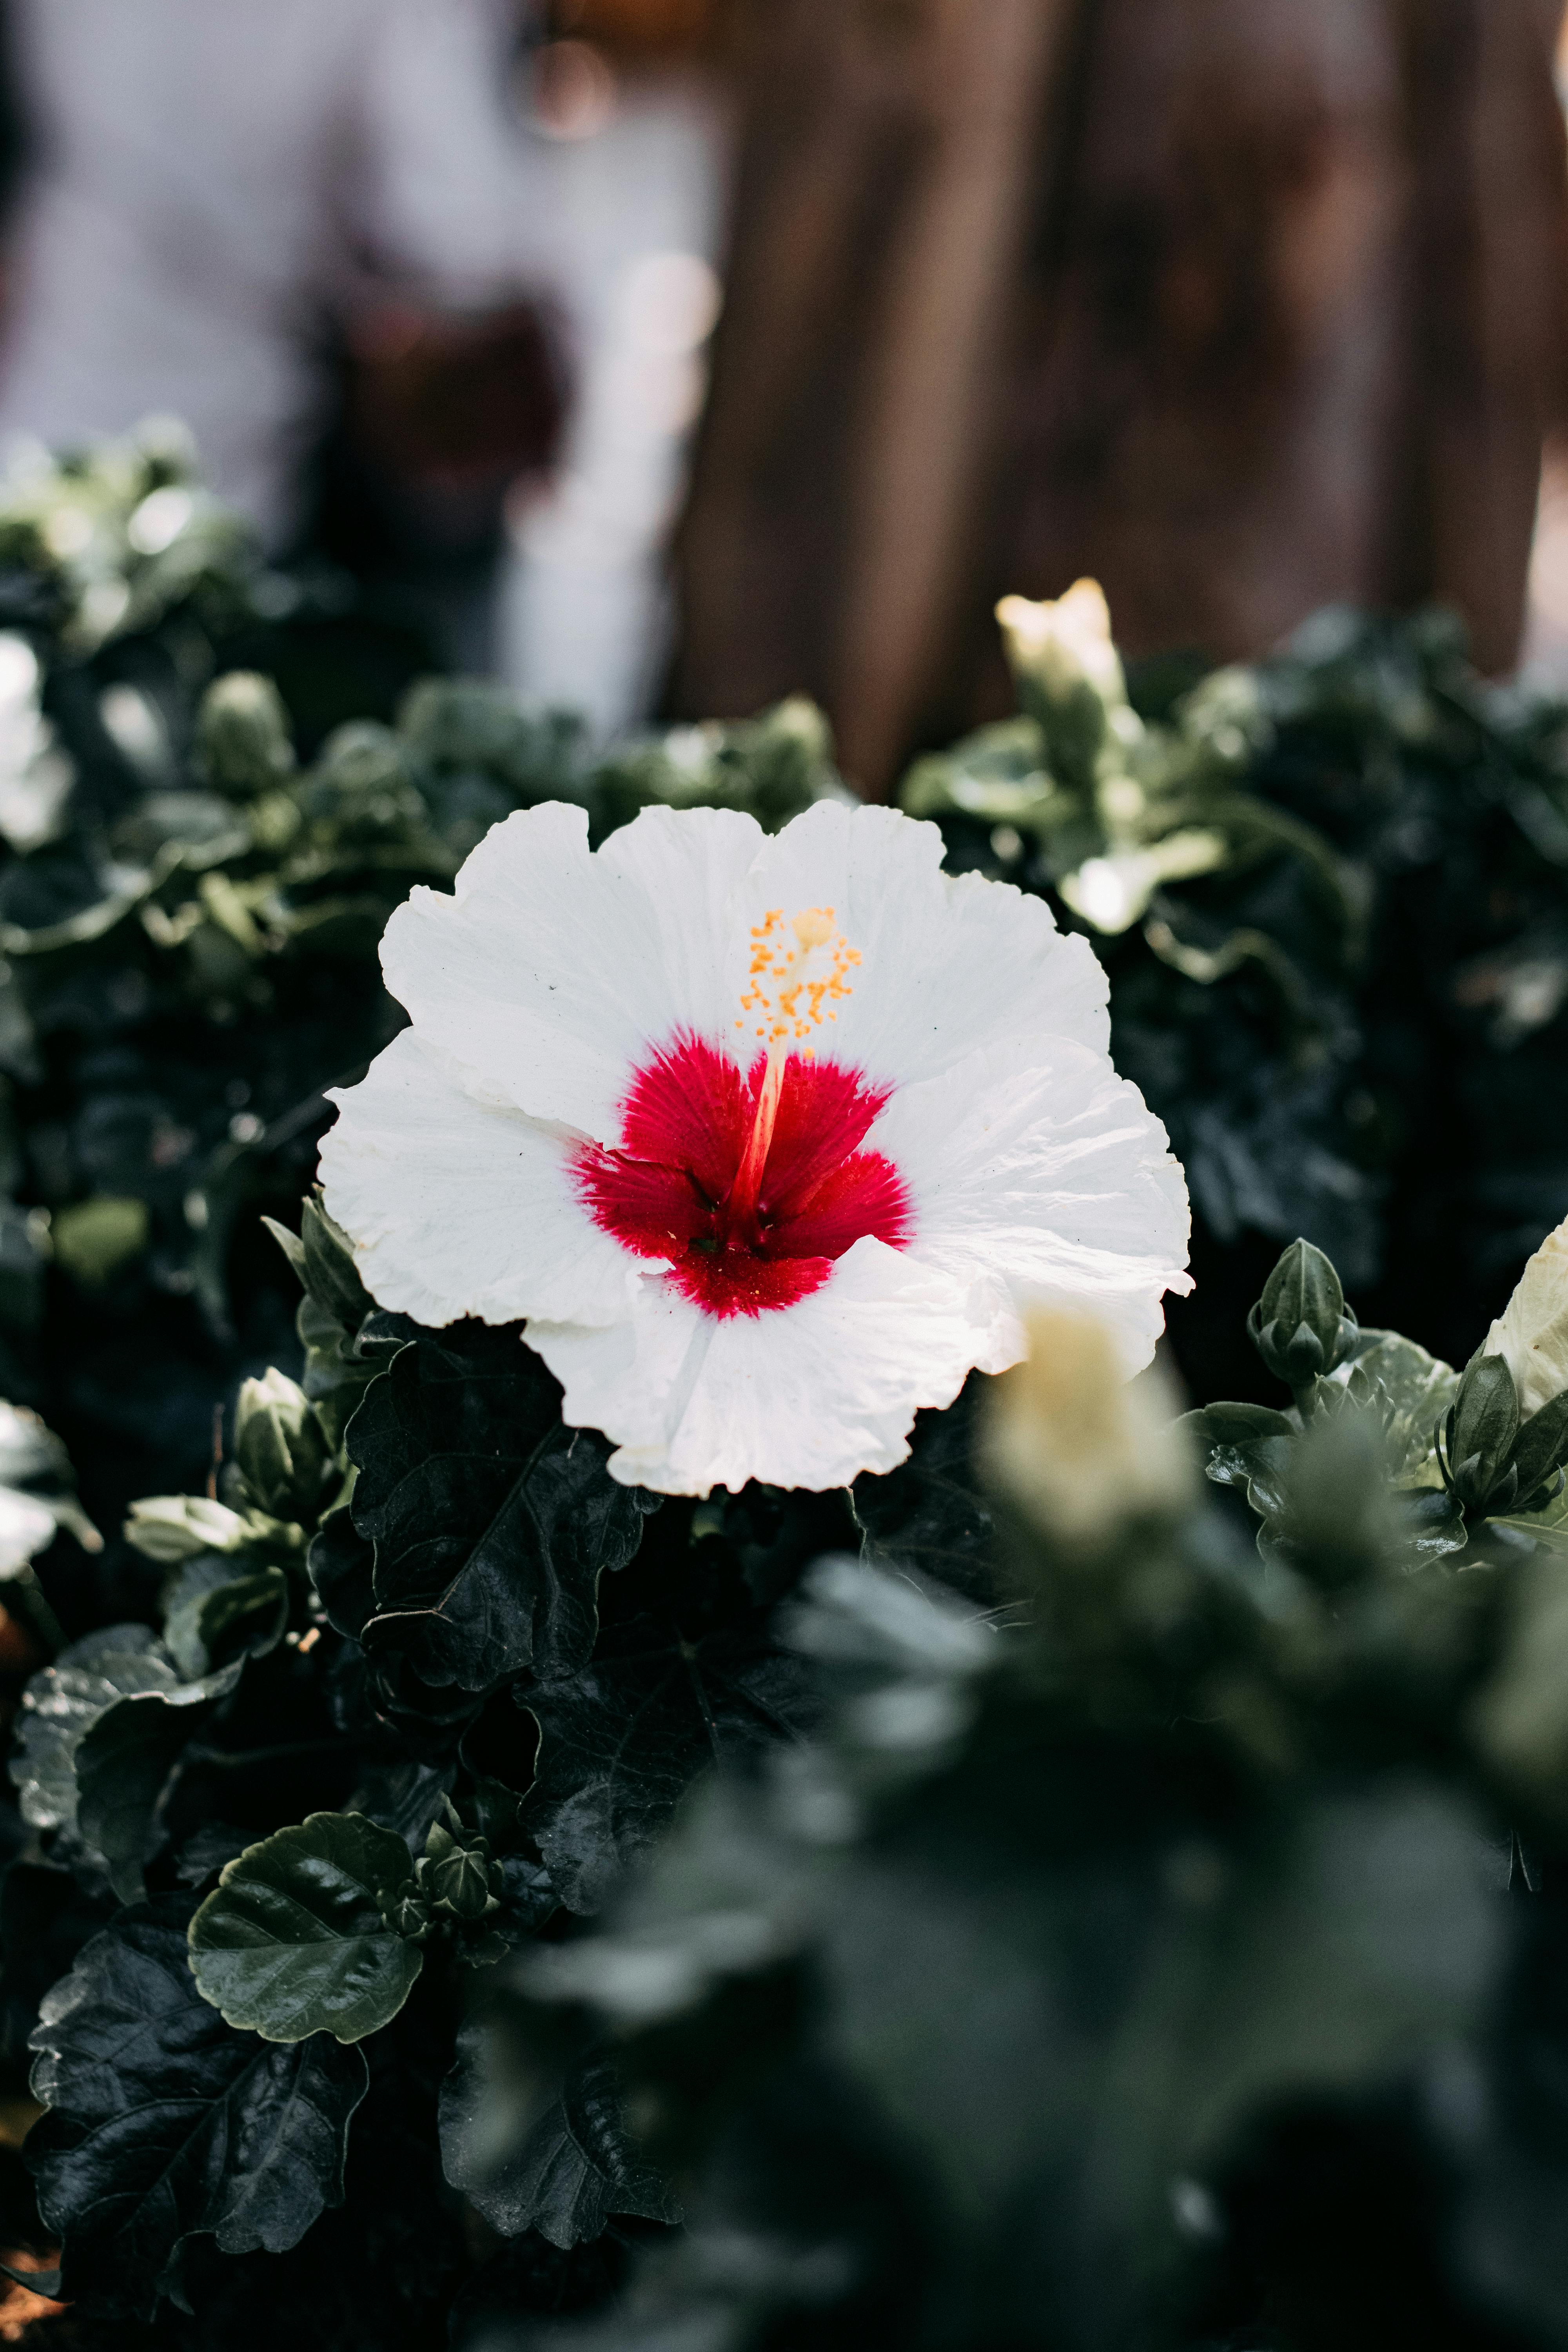
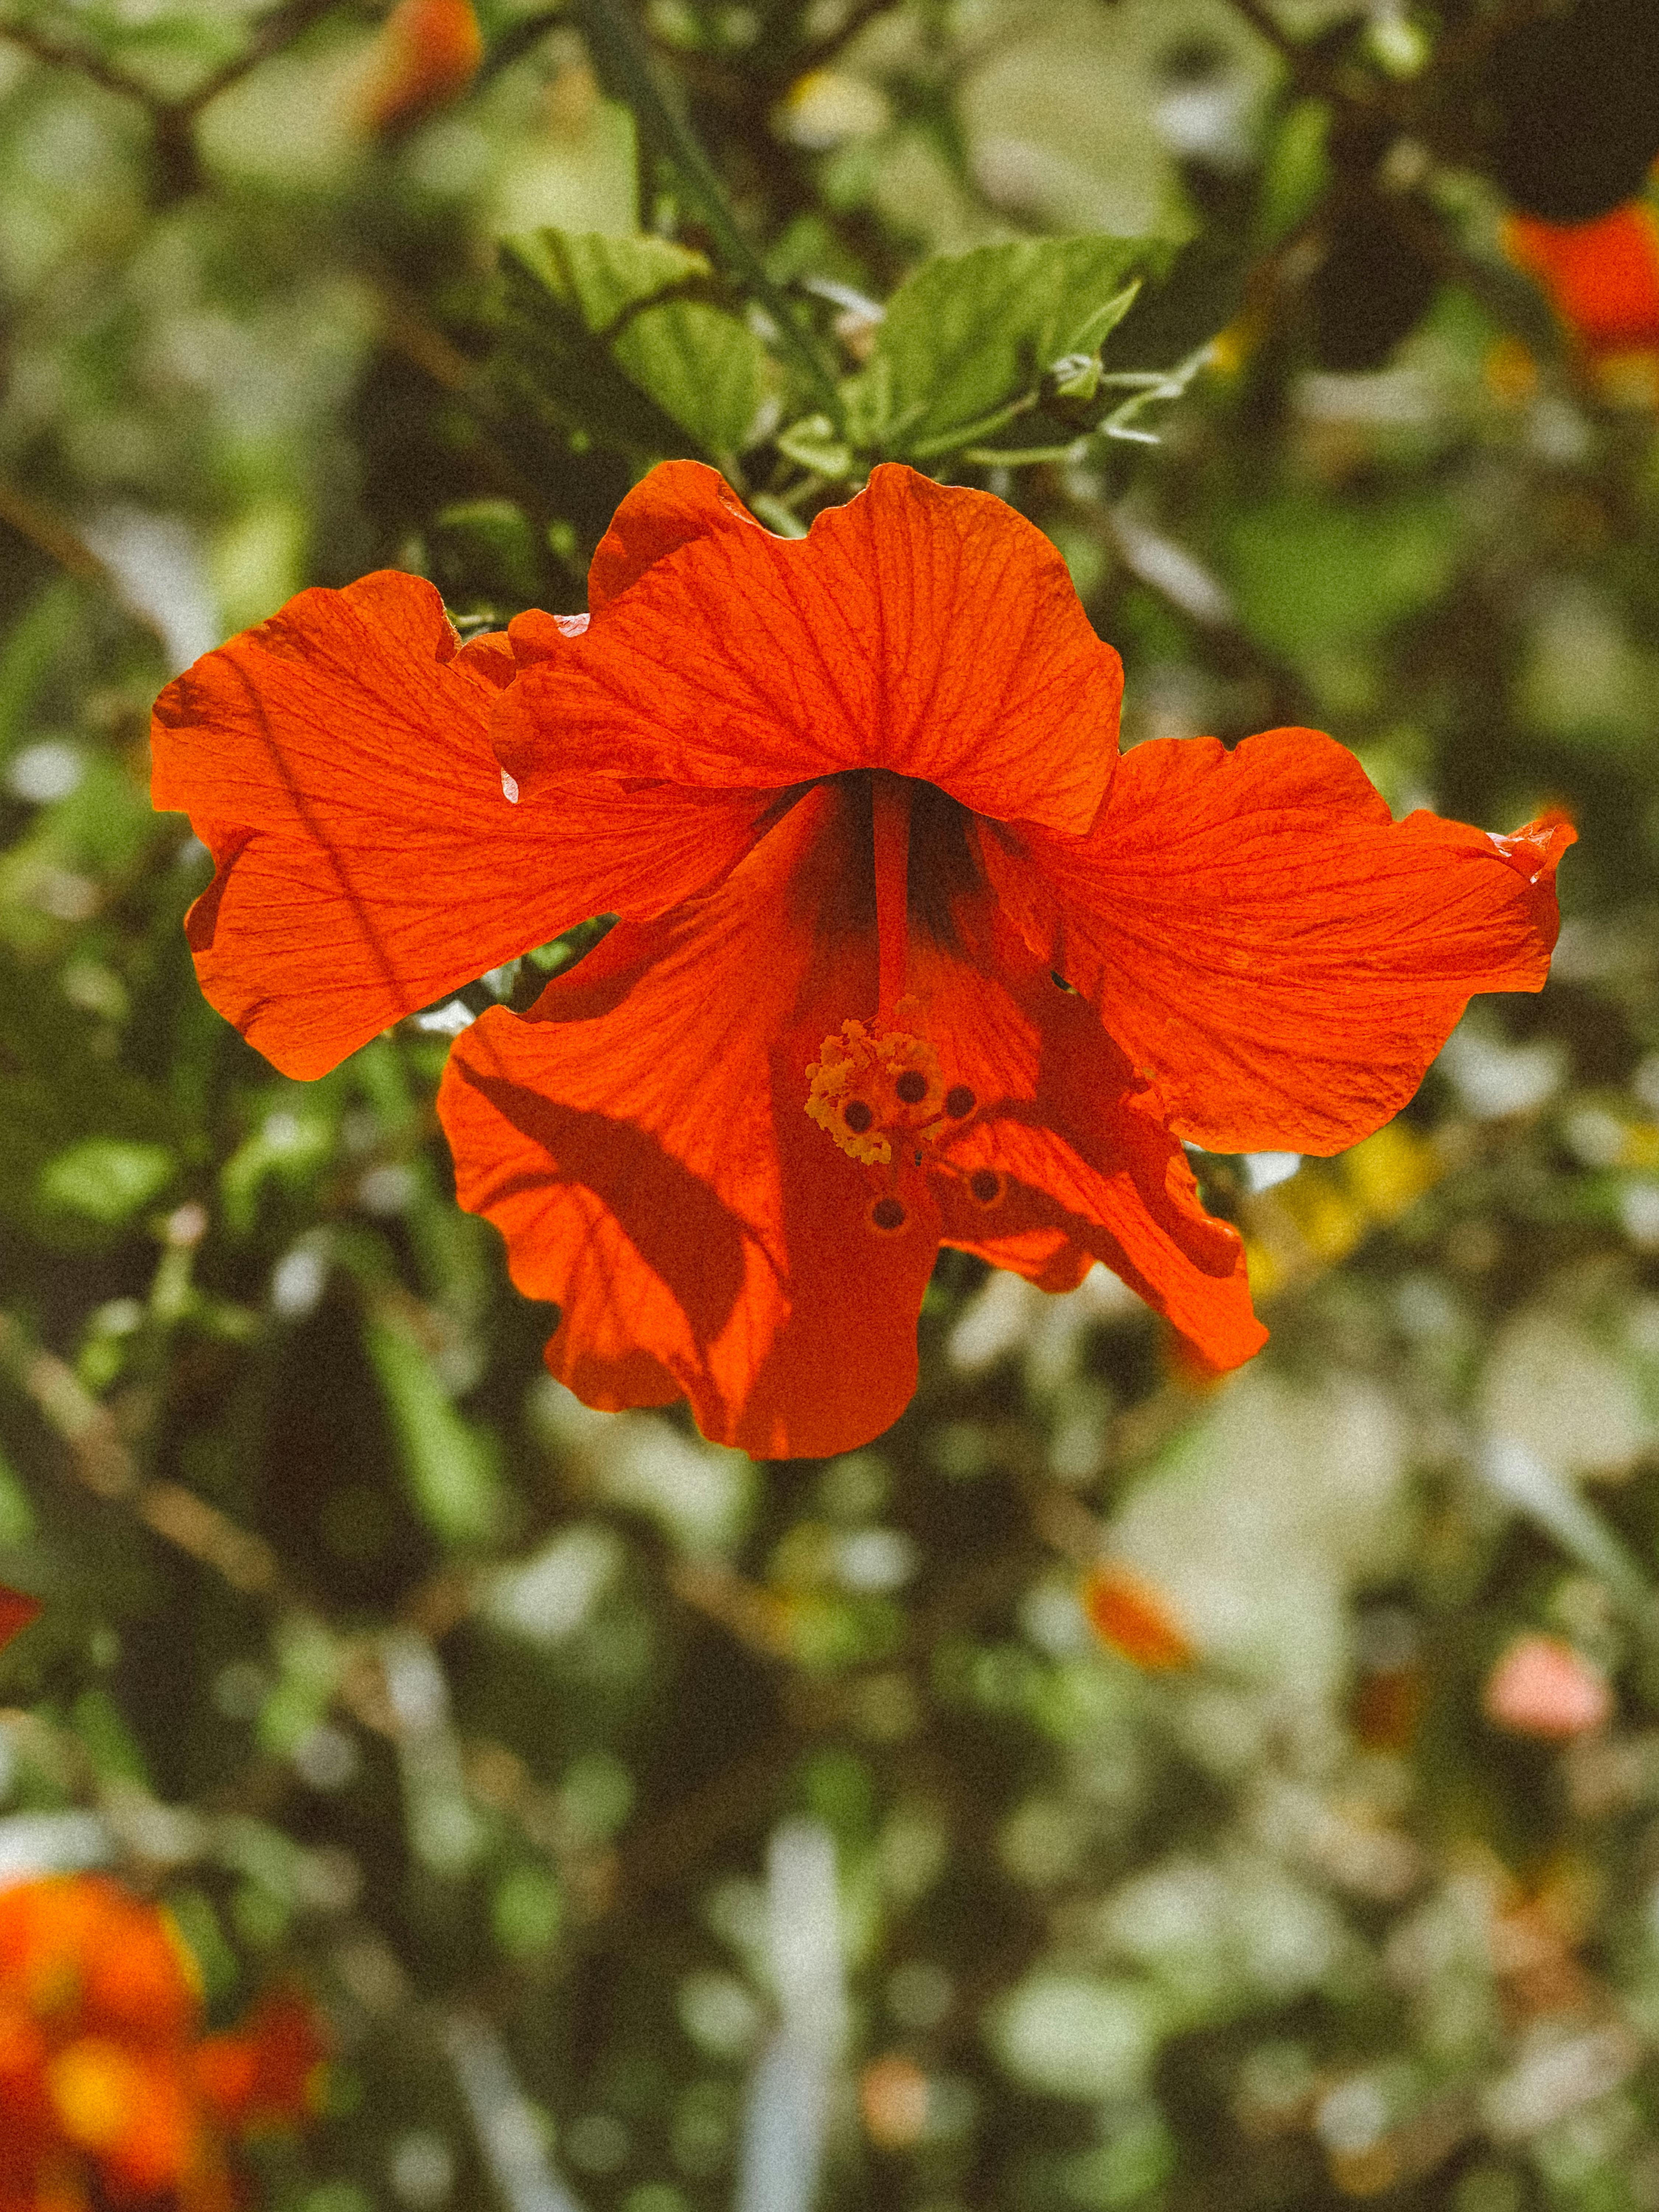
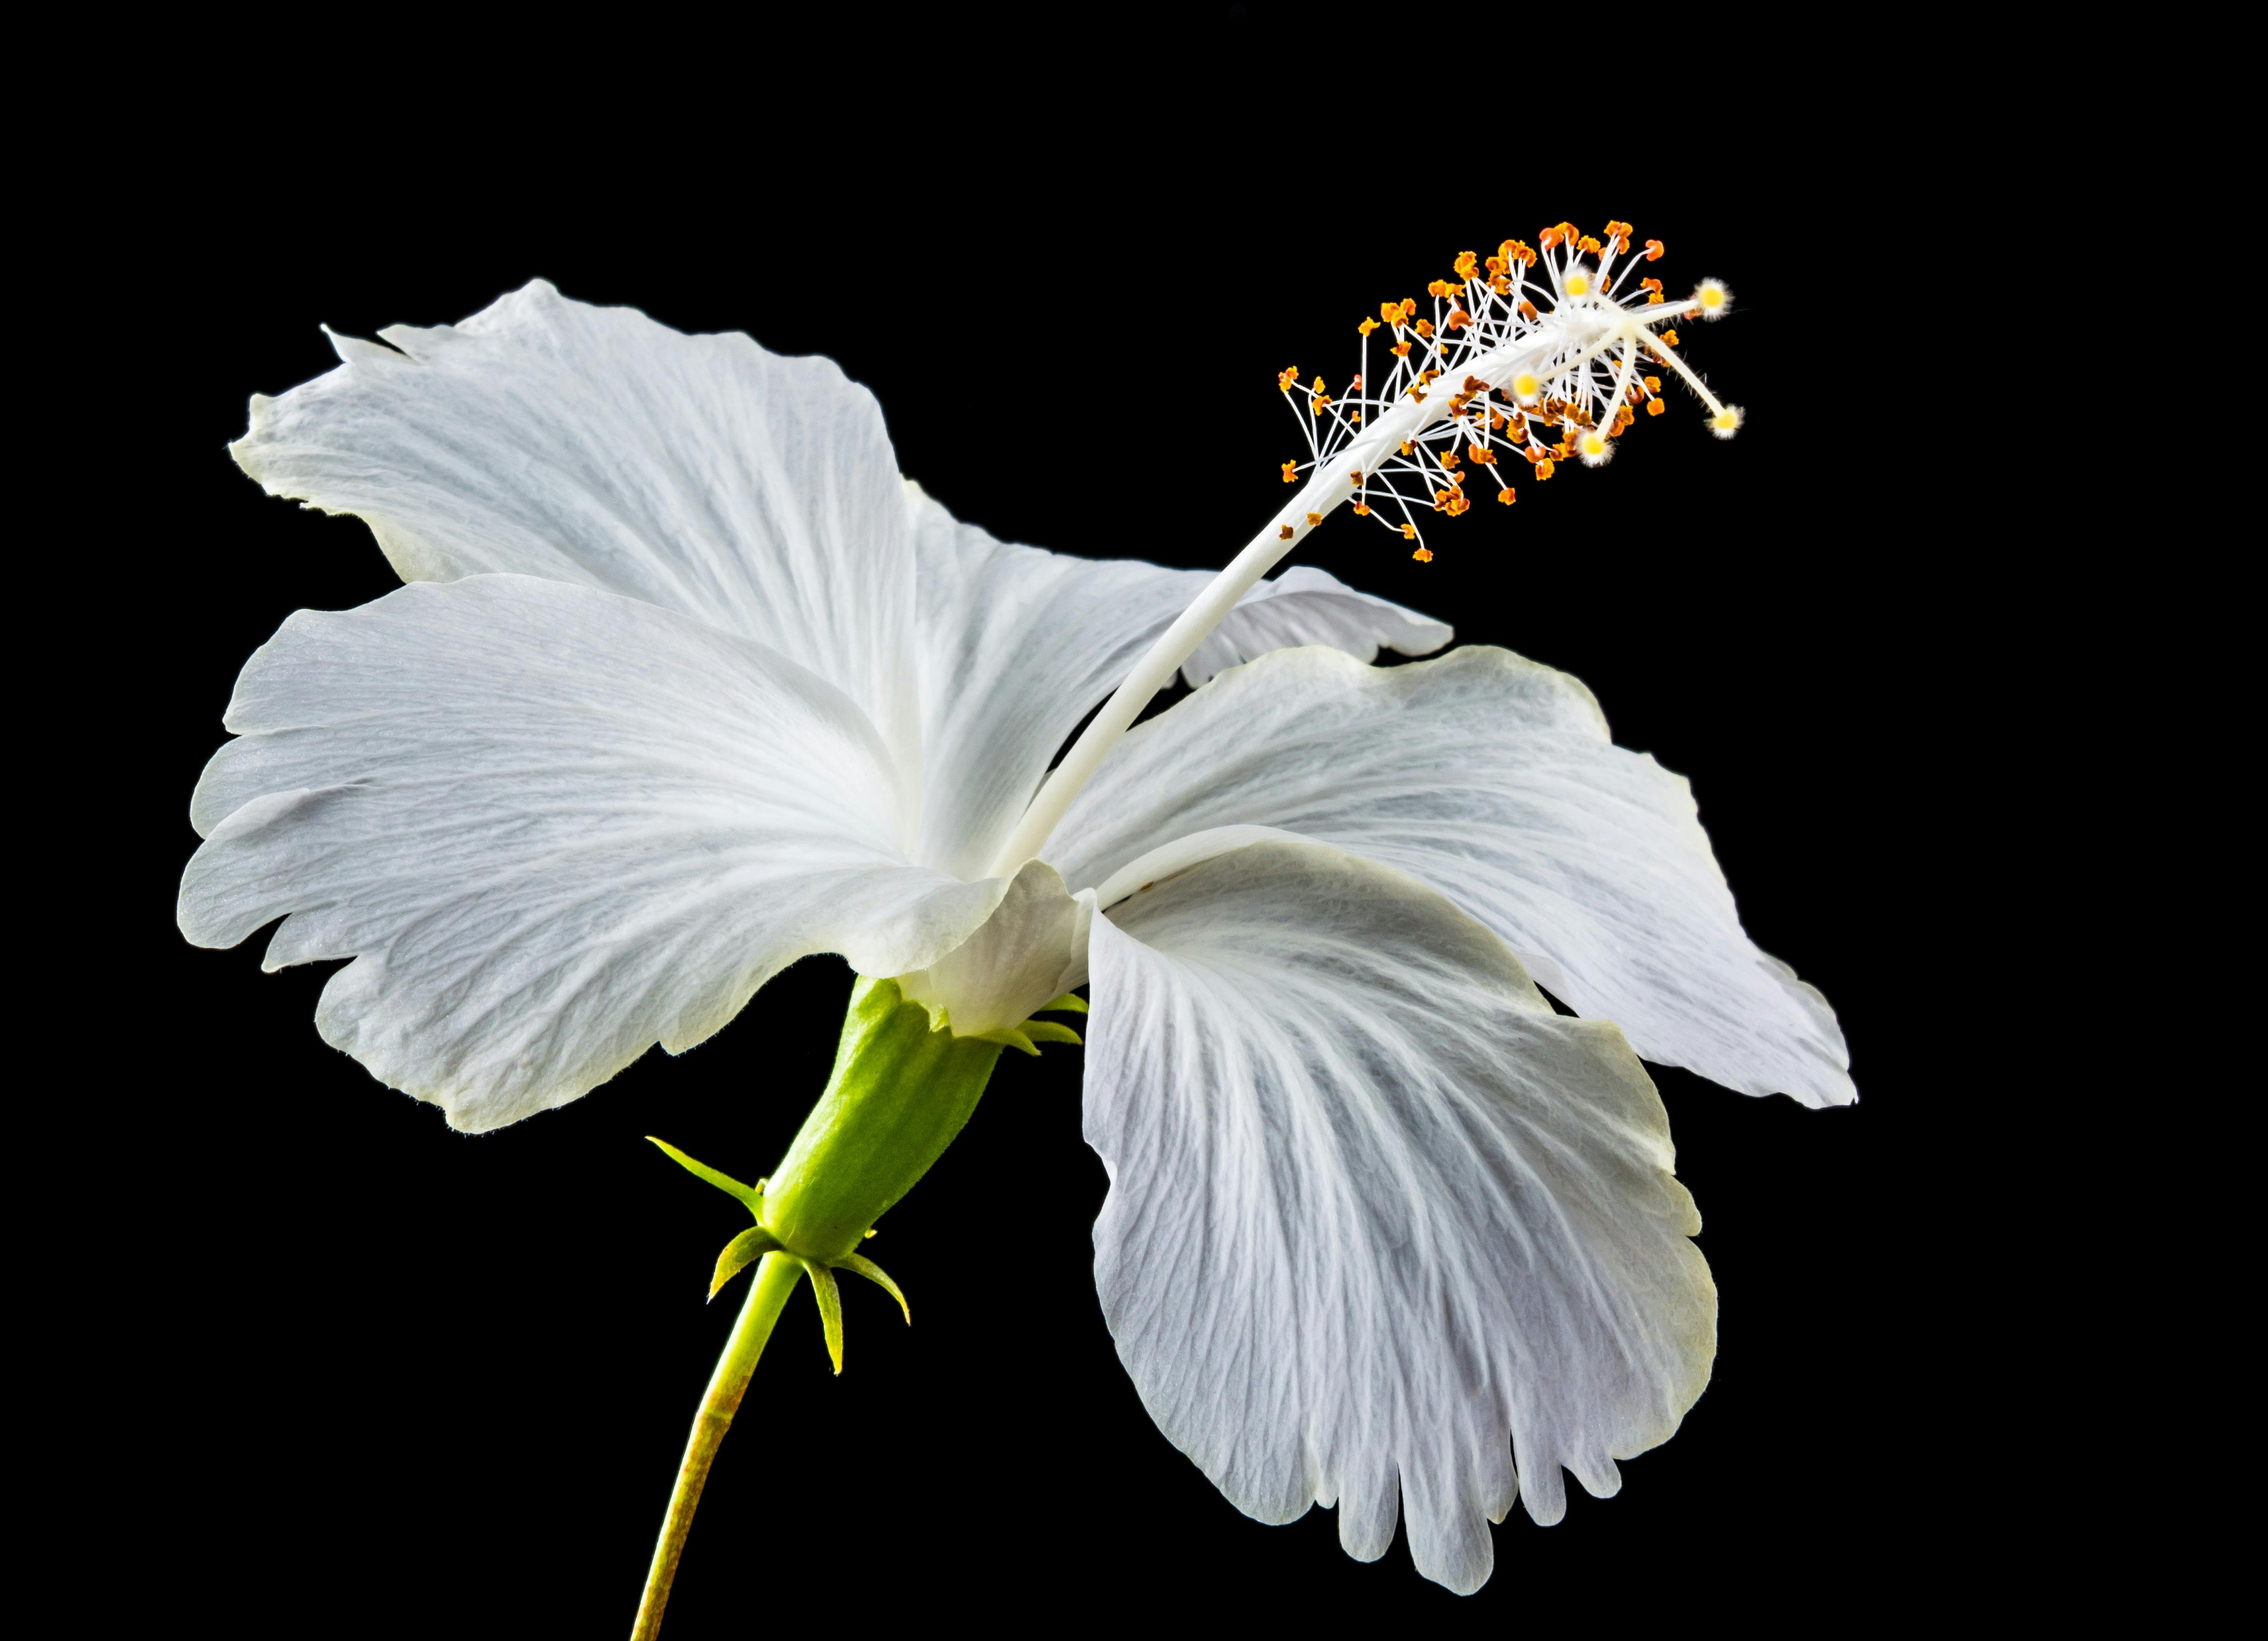
Use high-quality Hibiscus photo references to study real petal shapes, lighting, and color so your drawings look more accurate.


Use this quick guide as a checklist while you follow tutorials or study the drawings above. You’ll get better results by focusing on big shapes, clear overlaps, and clean values before adding tiny textures.
Start with the overall silhouette, then draw the biggest petals first. Add the flower center and any overlapping petals, and refine the outline. Finally, shade with broad shadow shapes and add texture details like veins and edge ruffles using a lighter hand.
Choose a simple front-facing reference with clear petal shapes. Use a basic outline + three-value shading (light, mid, dark) instead of over-detailing. Working from a step-by-step drawing is often faster than starting from a complex photo.
If you’re new, start with a step-by-step drawing to learn the construction. Then watch a tutorial to see the process and tool handling. Use photo references last to practice observing real lighting, perspective, and natural variations in petal shapes.


Look for one main light direction and group shadows into larger shapes. Keep your darkest values near overlaps and inside the flower center. Softly blend across petal planes, then add sharp accents at edges, veins, and cast shadows to increase depth.
A simple HB pencil and an eraser are enough to start. For cleaner line art, use fineliners. For color, try colored pencils or watercolor washes. Digital artists can mimic these with soft round brushes for shading and textured brushes for petal grain.
Improve your edges: keep important contours sharper and let less important edges soften into the background. Add a few high-contrast focal details near the center, include leaves for balance, and consider a light background wash to separate the flower from the page.


